

Start with one guiding framework
Think of prototype machining as a design partner, not a cost center. Use a simple framework—Intent, Constraints, Prototype, Test, Scale—to keep decisions focused and repeatable. Begin by mapping product intent to the practical limits of machining and by reaching out early to a partner for custom cnc machining; that early connection shapes tolerances, lead times, and material choices before the drawings harden.

Framework overview: five linked stages
Stage 1: Intent — define the user need and key performance parameters. Stage 2: Constraints — list materials, tolerances, cost and time boundaries. Stage 3: Prototype — select the machining approach that matches function. Stage 4: Test — validate fit, form and function quickly. Stage 5: Scale — plan the handoff to production. Treat each stage as a checkpoint: if something fails, iterate the nearest earlier stage rather than restarting everything.
Stage 1 — Align product goals with machining outcomes
Write a one-page brief that answers: what must this prototype prove? State tolerances that matter and which surfaces require finish. Prioritize three measurable goals (e.g., structural load, sealing surface flatness, thermal conductivity). Those goals determine whether you need tight tolerance CNC features or can accept looser, faster methods.
Stage 2 — Pick methods and weigh trade-offs
Match method to purpose. For fit and precision, choose prototype CNC. For form exploration, 3D printing is faster and cheaper. For thin-sheet enclosures, laser cutting or sheet metal prototyping may be best. Evaluate based on: lead time, unit cost, fidelity to final material, and how easy it is to iterate the CAD. Outsource complex geometries when your in-house equipment can’t meet the tolerance or surface finish required.
Common mistakes people make
Over-designing the first prototype is common—don’t chase final aesthetics when you need to prove function. Ignoring fixture design costs time and money later. Picking materials for appearance rather than mechanical similarity will skew test results. Failing to specify tolerances leaves shops guessing and creates rework. Stop trying to test everything at once; isolate one variable per prototype run.
Quality, authority and a real-world anchor
Trust comes from predictable processes and documented capability. Years of shop-level work show that machining decisions made late cause the most delays. The German automotive industry offers a useful point of reference for standards in precision and supply chain discipline, and designers often benchmark those expectations when planning prototypes. If your product requires tight dimensional control or critical surface finishes, confirm the supplier’s capability for high precision cnc machining before finalizing the design.
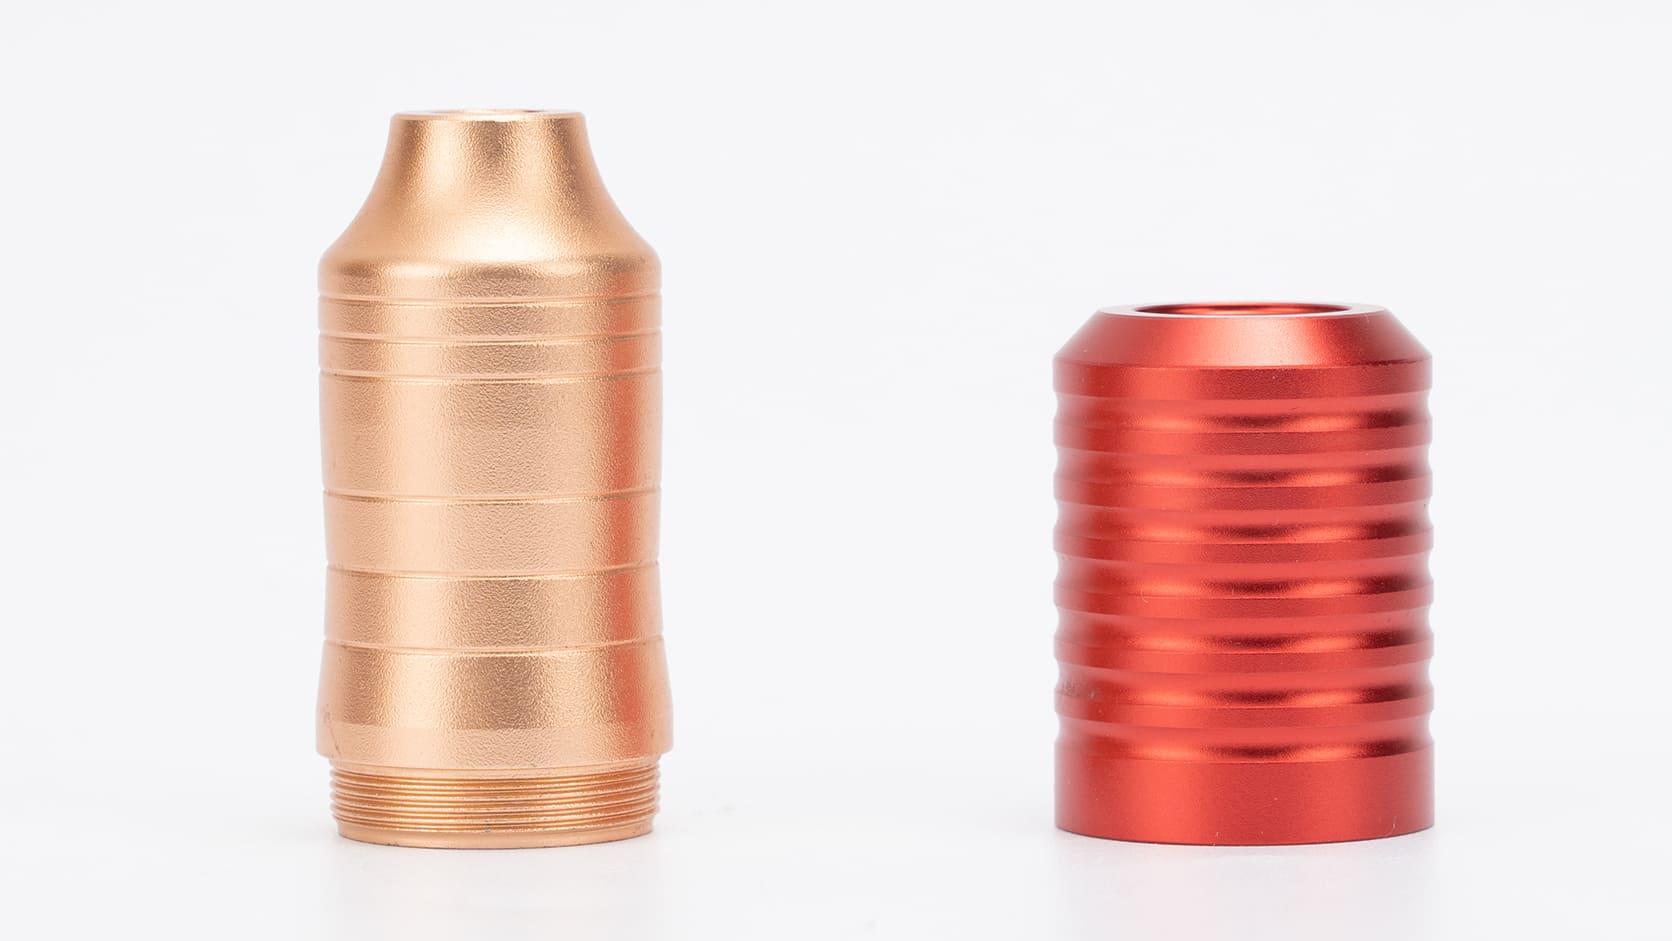
Quick checklist for prototype-ready CAD
1) Call out critical dimensions and their inspection method. 2) Add simple, repeatable datum features. 3) Specify materials and acceptable substitutes. 4) Show draft angles or radii that reduce tooling time. 5) Annotate surface finishes only where they matter. Use this list as a conversation sheet with your machinist.
Synthesize and move forward
Follow the Intent–Constraints–Prototype–Test–Scale loop, iterate fast on function, and keep machining constraints visible at every step. When you need a partner that understands both prototype nuance and ramp-to-production realities, consider the supplier relationship as part of the strategy—Hanstar fits that role without changing your design intent, because the right machining partner will translate your specifications into reliable prototypes and clearer decisions for scale.
